
The Essential Guide to Repairing Drywall Water Damage Before Painting
Discovering a water stain on your ceiling or wall is a moment no homeowner wants to experience. Whether it stems from a minor roof leak following a heavy storm or an overflowing sink in a second-floor washroom, water damage is a stressful disruption. For homeowners in The Royal City, taking care of these issues promptly and properly is essential to maintaining the value and comfort of your home.
When faced with unsightly brown water rings or bubbling paint, the temptation to simply grab a brush and cover it up can be strong. However, applying a fresh coat of paint over compromised drywall is like putting a band-aid on a broken arm. It might look okay for a few days, but the underlying problem will inevitably surface again, often bringing worse issues like mold, structural weakness, and peeling paint.
At Osika Contracting, we believe in doing things right the first time. Professional interior painting requires a flawless canvas, and that means addressing any structural and surface damage before a single drop of paint is applied. In this guide, we will walk you through the essential steps of repairing water damage properly, ensuring that your home remains safe, beautiful, and ready for a fresh new look.
Step 1: Assessment and Identifying the Source
The absolute first rule of addressing water damage is to stop the source of the water. There is no point in figuring out how to fix water damaged ceiling drywall if the leaky pipe or roof gap is still active. Once the source is fixed and the area is completely dry, a thorough assessment is required.
Water can travel along joists and pool in unexpected areas, meaning the visible stain might not represent the full extent of the damage. We often see homeowners get inaccurate quotes from inexperienced operators who just glance at the surface stain without assessing the structural integrity of the drywall. When the drywall is soft to the touch, crumbling, or showing signs of mold, it cannot be saved. It must be cut out.
Safety is a primary concern during this stage. For older properties, particularly historic homes in neighborhoods like The Ward, there may be hidden dangers like lead paint or outdated insulation behind the drywall. This is why relying on fully insured professionals covered by WSIB is crucial. We handle the dirty work safely, ensuring compliance with all safety regulations and protecting your family from harmful dust and spores.
Step 2: Cutting, Patching, and Mudding
Once the unsalvageable drywall is removed, the rebuilding phase begins. If you are dealing with minor moisture exposure where the drywall has remained structurally sound, repairing drywall cracks before interior painting might just involve scraping away the loose, flaking paint, applying a stain-blocking primer, and skimming the surface.
However, if a section was removed, a new piece of drywall must be precisely measured and cut to fit the hole. Wood backing is often installed to give the new drywall piece something to screw into. After the new piece is secured, drywall tape is applied to the seams, followed by several layers of joint compound, commonly known as mud.
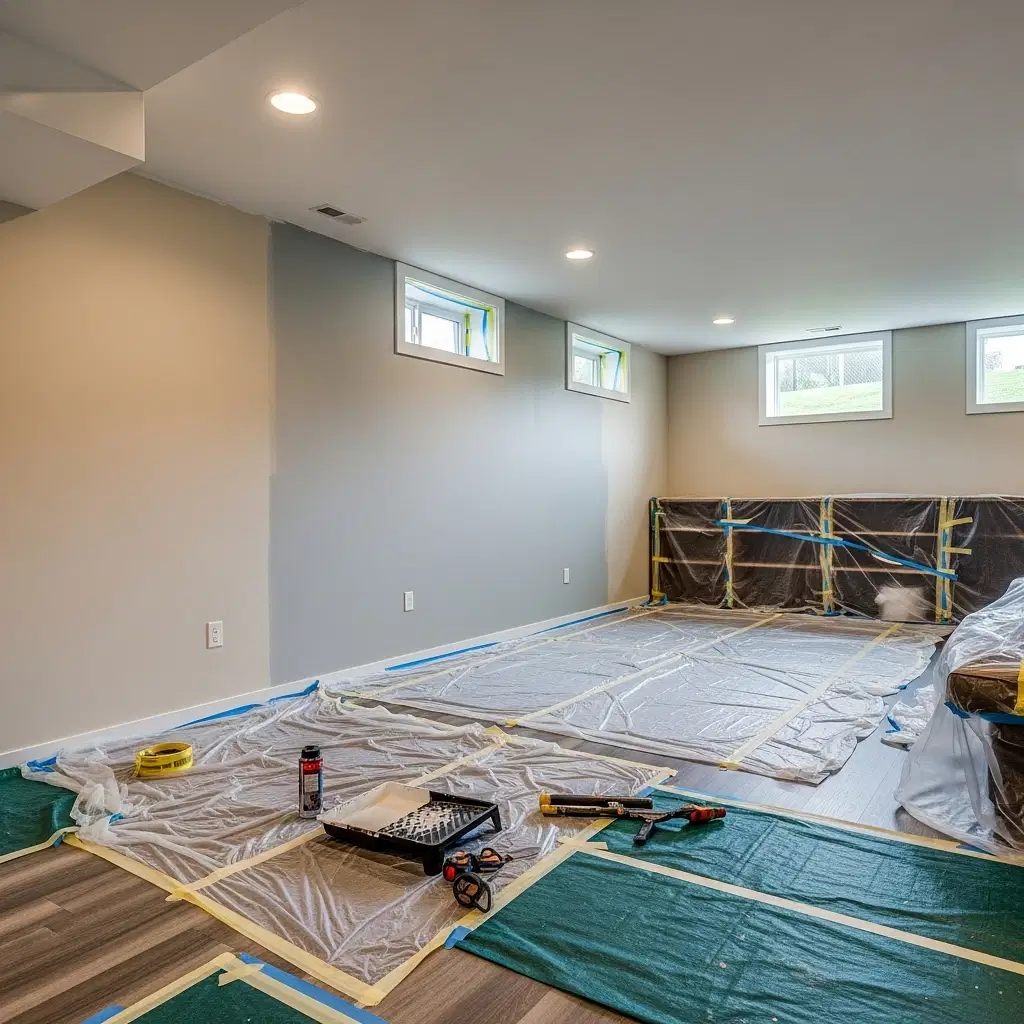
This is a process that requires patience and skill. Each layer of mud must dry completely before the next is applied, and each layer must be carefully sanded to create a perfectly smooth transition between the old wall and the new patch. A common question we receive from clients is whether they need to prep the room or move heavy furniture before we arrive to do this dusty work. The answer is no—our comprehensive drywall repair services include moving your furniture, carefully masking the floors, and containing the dust so your living space is completely respected and protected.
Step 3: The Art of Texture Matching and Priming
Achieving a smooth wall is one thing, but matching textured ceilings after drywall repair is one of the most challenging aspects of water damage restoration. Many homes, particularly those in older subdivisions or specific styles found in the South End, feature unique ceiling textures like popcorn, knockdown, or swirl patterns. If the texture of the patched area does not perfectly match the surrounding ceiling, the repair will stand out like a sore thumb every time the light hits it.
Professionals use specialized techniques and tools to recreate these textures, blending the new section into the old so the boundary disappears. Once the texture is applied and fully dried, the entire repaired area must be primed.
We never skip the primer. Water stains contain tannins that will bleed right through standard latex paint. A high-quality, stain-blocking primer seals the repair, prevents any residual discoloration from showing through, and provides the perfect bonding surface for your topcoats. This attention to detail is what separates a long-lasting professional finish from a hasty, low-cost job that will need to be redone a year later.

Step 4: Applying the Final Finish
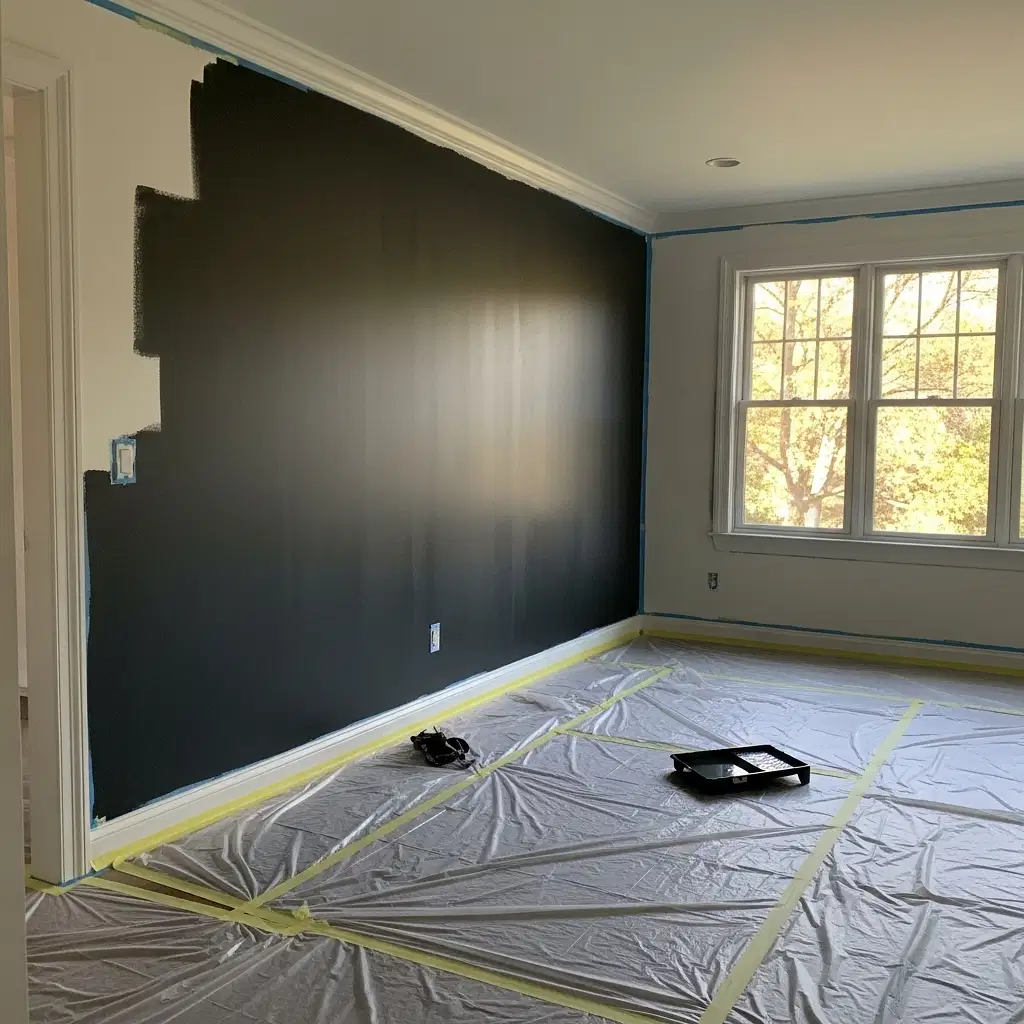
The final step is the most rewarding: applying the topcoats of paint. Because a localized repair can sometimes alter the way light reflects off the surface, we generally recommend painting the entire wall or ceiling from corner to corner to ensure a completely uniform look.
Today's homeowners prioritize indoor air quality more than ever. We proudly use premium eco-friendly, zero-VOC paints for our interior painting projects. These advanced coatings provide exceptional durability, excellent coverage, and beautiful color retention without releasing harmful odors or chemicals into your home. This means you can get back to enjoying your freshly restored space immediately, without the lingering smell of traditional paints.
Trust the Professionals for a Flawless Result
Repairing water damage is a multi-step process that requires a keen eye, the right tools, and professional experience. Trying to rush the process or relying on uninsured, seasonal labor can result in peeling paint, visible seams, and more costly repairs down the road.
At Osika Contracting, our commitment to quality workmanship, transparent pricing, and customer satisfaction ensures that your home is in the best possible hands. We take pride in delivering meticulous prep work and a beautiful, long-lasting finish that you can trust.
If you are a local resident dealing with the aftermath of ceiling or wall leaks, don't let water damage permanently ruin your home's aesthetic. We invite Guelphites to reach out to us today. Visit our contact us page to schedule a thorough assessment and get an accurate, no-surprise estimate for your interior restoration project.